
First up, and probably most important for bringing together a swamp table -- TREES! And with a better set of pictures showing more than just the finished product.
Steps 1-3 created the basic structure for the trees -- trunks and branches. The lower trunk were carved out of 1" thick pieces of insulation. Before I did the carving, I glued rough cut blocks together so that I had 2" of insulation to carve. This is the functional part of the terrain -- the part that miniatures will hide behind so I wanted the possibility for some good height. Next I cut a whole half way into the 2" chunks to fit the cardboard tubes that will become the upper trunks.

After gluing the cardboard tubes into the trunk bases I added branches. The branches are bits of metal clothes hangers stuck all the way through the tube to make two branches... one on each side of the tree. Some glue was applied to the holes to try and keep these in place.
Next I took a knife and some wire brushes to the cardboard tube. My goal was to create a rougher surface more like bark would be.

You can see that some of the trees I grouped into clusters of two trees each. Sometimes with room between them. Sometimes not.

One problem with trees being a main part of the table terrain is that it does not create elevation differences that the models can take advantage of. So, for a couple of those 2-tree clusters I want to add platforms models can climb up to. Above, I've carved notches into opposite trees and then glued in balsa wood pieces. I'm going to use these to anchor the platforms.

The platforms are mostly craft sticks glued to balsa wood supports. The ladders are balsa wood with toothpicks for steps.

Next step is to use spackling/filler to smooth over gaps and wholes. For instance, you can see in the prior pictures where the two blocks of insulation were glued together. There were also spots where the carving in the insulation went badly creating holes I didn't want. There were also a good many gaps where the cardboard tubes were slotted into the insulation bases.

In this picture you can also see another bit I was working on at the same time. Front and center is a root looking construct. I modeled these after rogue root structures I saw in my research pictures. This one is straight. Another is a corner looking piece.

Roughly an entire can of Leather Brown Primer from the Army Painter and I'm ready to paint. Seriously, I was really worried that I was going to run out of primer as I was doing this. Also... it started raining as I'm finishing up... most stressful priming ever. But it all got done and moved into the garage before the rain really started falling.

With the primer also acting as a base coat, painting was mostly about shadows and highlights. Pictures below are the finished products.

A wash into the crevices first, then some red in gaps and flat areas. I think the red I saw in my source images were either fallen leaves or needles or bark or something like that. So I tried to get that color on places where that detritus would gather.

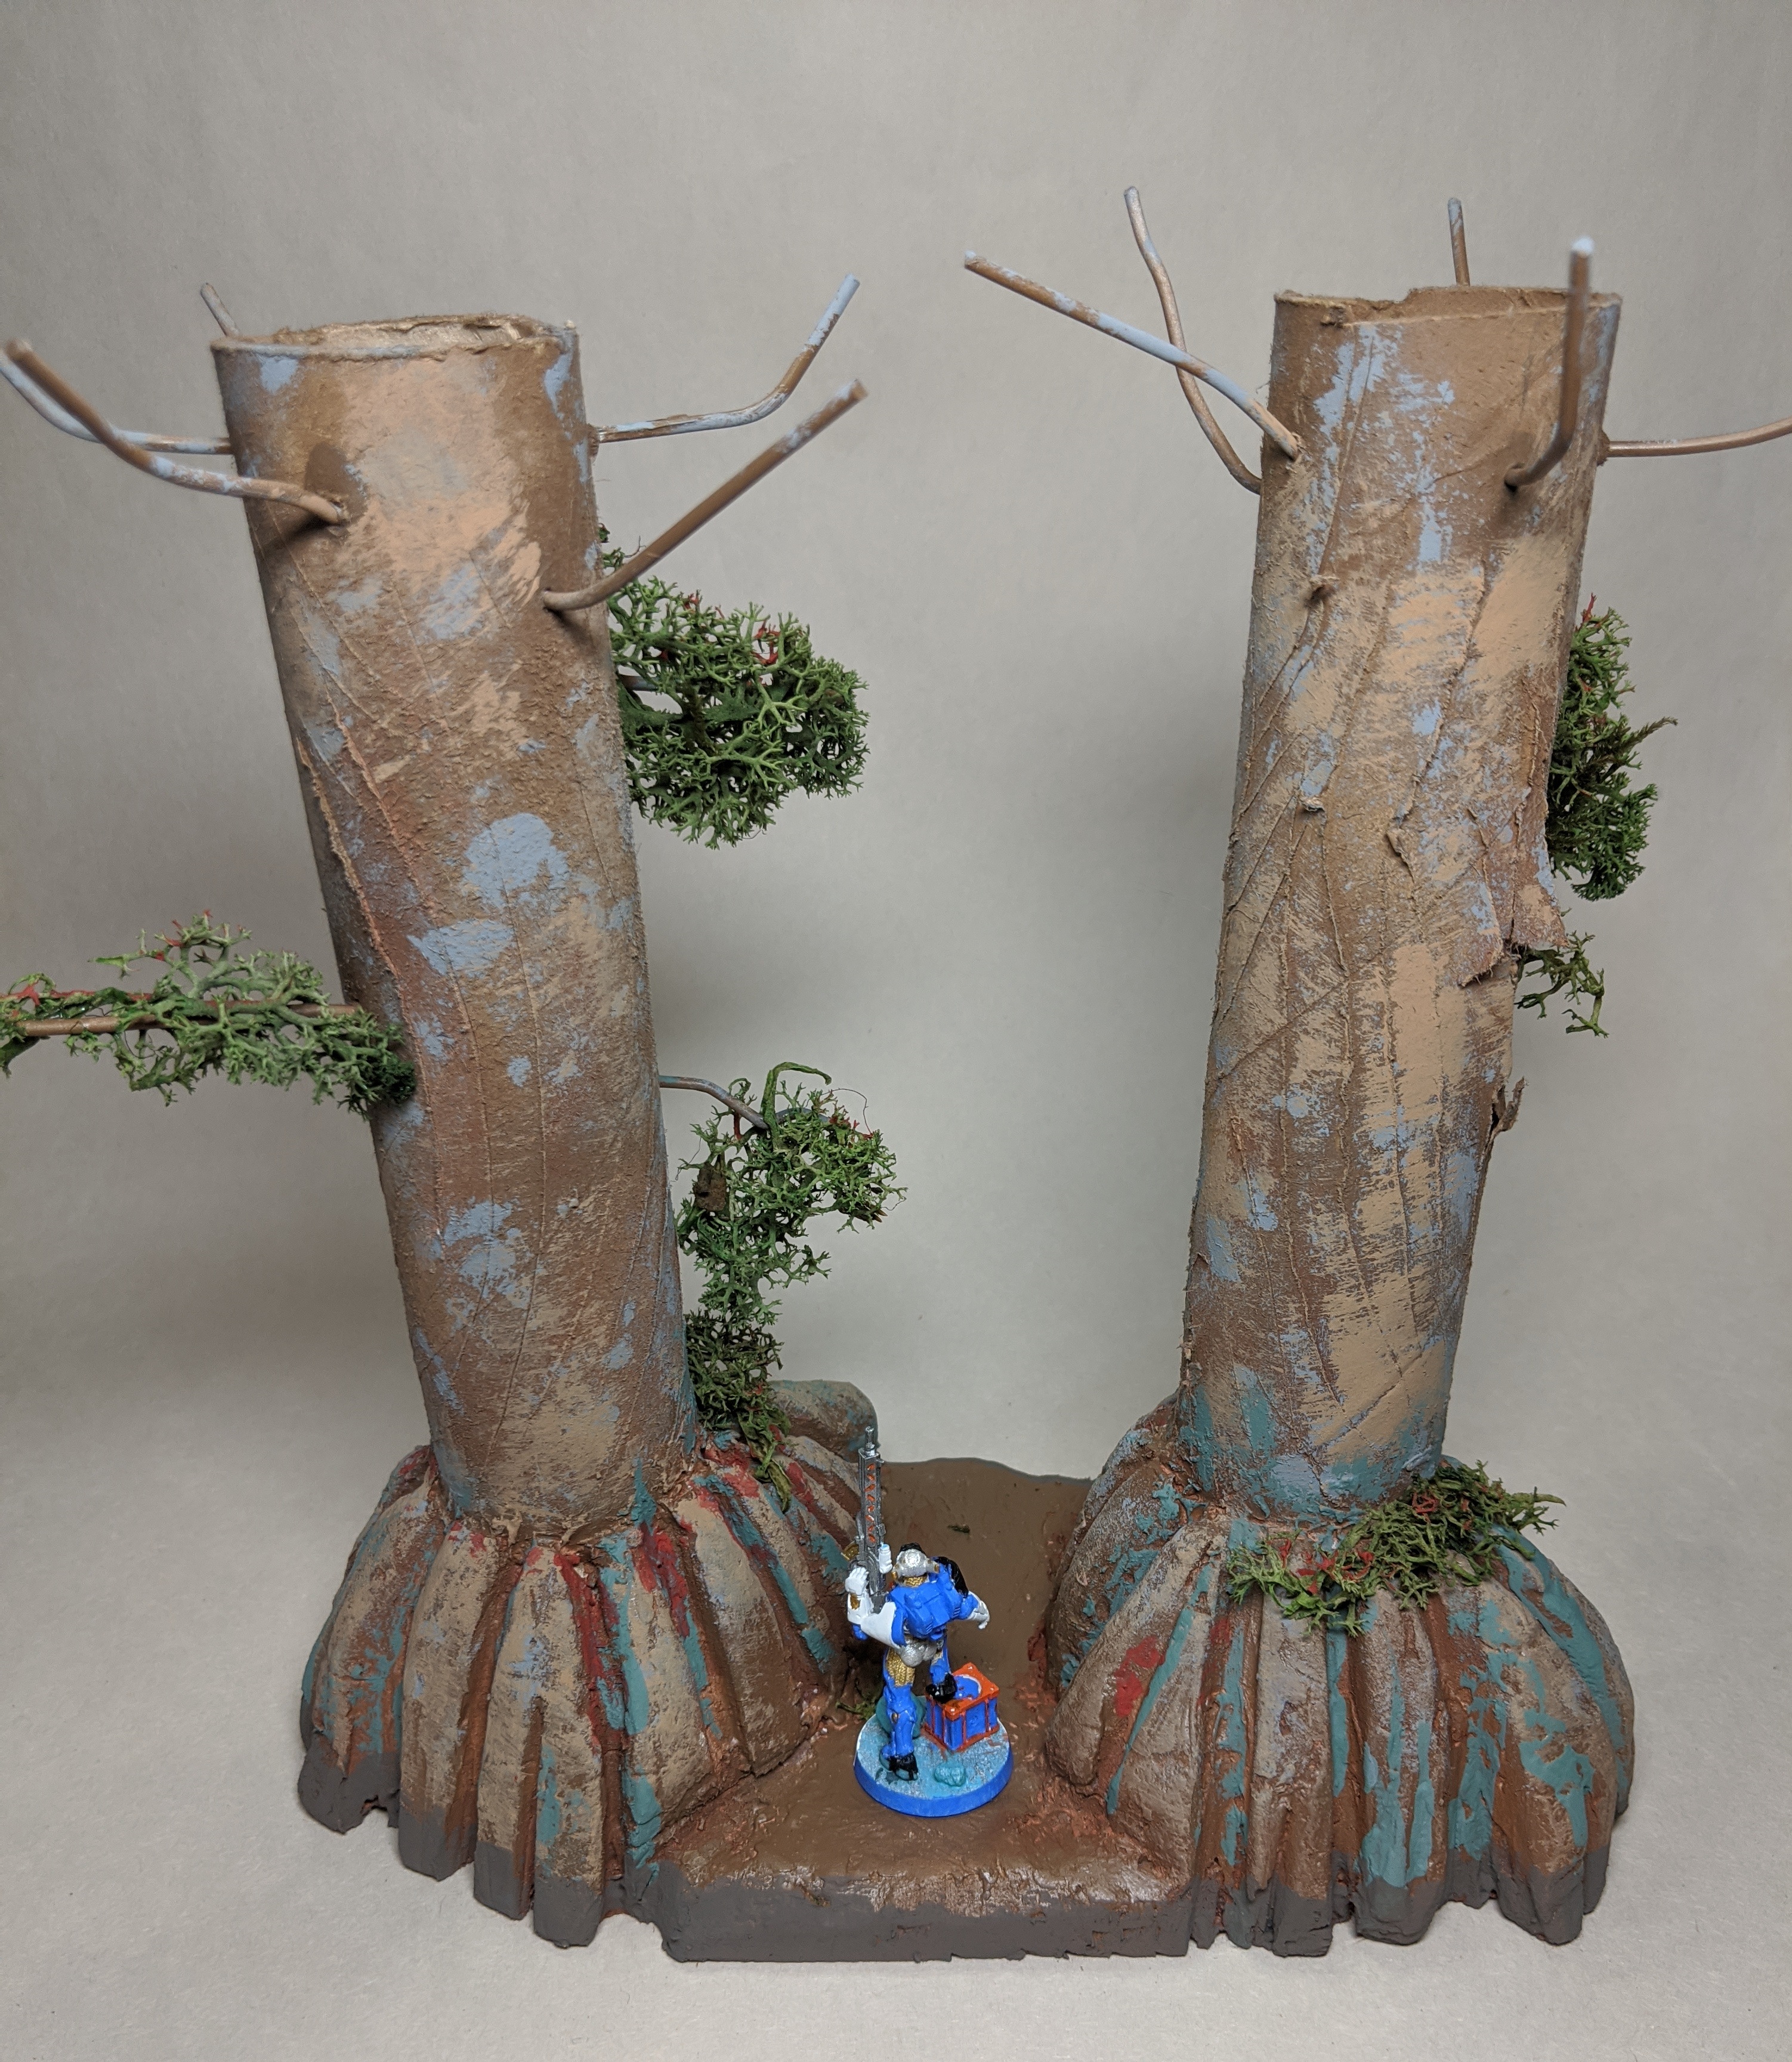
Next some blue highlights. I like that the blue added a little color to the trees. I think the blue bits on my reference images were moss of some kind?

The last highlight was a lighter brown that I used on the trunk to break up the base coat and on the roots to accent the ridges and tops of the roots.
Above you can see probably the last bit of unfinished work... I might go back and flock the two groupings that effectively have some flat ground between them.

Last step for most of the trees was to add some green. I played around with different arrangements and decided on mostly a couple dangling bits from the lower branches plus some smaller clumps on the larger root structures as seen above.

Back when I had added the branches to the trees my plan was to add a true foliage top to every tree. You can maybe see in the image above that I had arranged the upper branches in such a way that I was hoping it would support whatever I was going to end up using for the upper leaf canopy. You can see I haven't done that yet.

When I played a couple of games using the trees before I painted them, I had a concern. Would all of that foliage obscure my ability to see the table well? I think so. So for now at least, no tops for my trees.

At this point I am more or less done except for the platforms. First I went over the platforms and ladders with a specific wood grain wash I have as I wanted this cut wood to stand out from the living trees next to them.

Next I used the same lighter brown color I used on the trees to do some pretty aggressive edging along individual boards and the ladder steps.

Finally some dry brushing to really pick out the top edges.

My final step was to add a water line to the bottom bit of everything. It is supposed to be a swamp so I envision that the water really marks these trees with the tides. Below... all of the trees. This covers about a third of a 4' x 4' table.

Higher resolution images here.
I was really happy with the end result of these trees (even if I may end up going back and adding more foliage or some flocking). This was also my most ambitious element to date. I ended up with 10 different pieces and can really cover a good part of the table with them.
The swamp table is really coming together at this point. But I had one more thing I wanted to add, that morphed into a much bigger project than I had envisioned. Next on the agenda is the Mining Platform / Landing Platform / Objective Room.